First up, learning about prepositions with using a Ghost Buster theme!!! “There’s something weird, in the neighborhood….who you gonna call?? GHOST BUSTERS!!!”
Begin the lesson by playing the Ghost Buster song! Then, tell the students that they will be Ghost Busters and go on a ghost hunt for this writing lesson!
Here are the materials you need: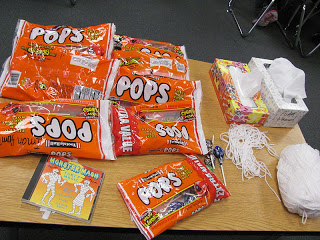 Tootsie pops, Kleenex, String, and the Ghost Buster song (optional, but highly recommended!). Have the students make four ghosts by wrapping Kleenex around the Tootsie pops. Tie string around the Kleenex to keep it in place.
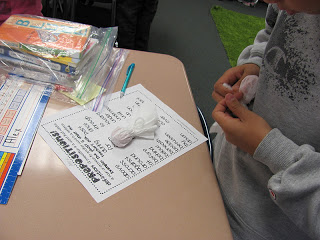
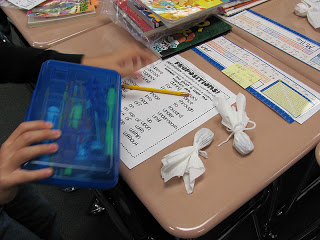 When all the ghosts are ready, tell your little ghost busters to put their heads down and hang out at their desks. Turn off the lights and play the music! Have each child one at a time go hide their 4 ghosts somewhere in the classroom. When they are done, have them tap the next student on the shoulder. (It took our class five minutes to do this- or, listening to the Ghost Buster song three times!)
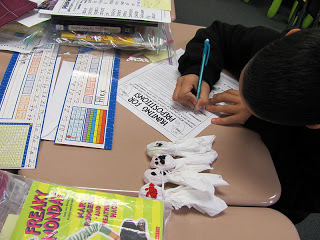
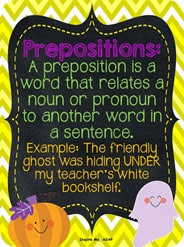
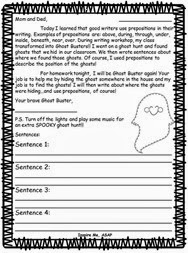
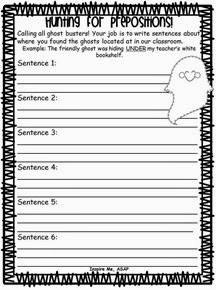
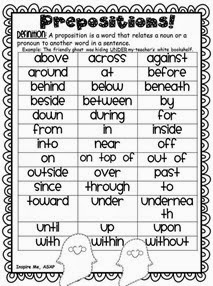
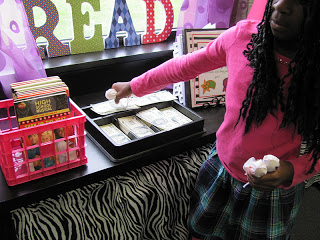 After all ghosts are hidden, it is time to go for a ghost hunt! Have the ghost busters go find 4 ghosts each. To start with WRITING part of this lesson, have the students write sentences, using prepositions, describing where the found or hid their ghosts.
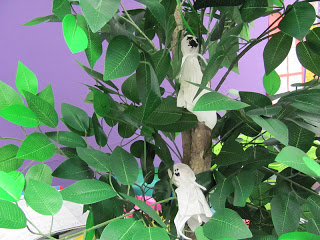
 The ghosts were hiding INSIDE of the green tree BY my teacher’s desk.
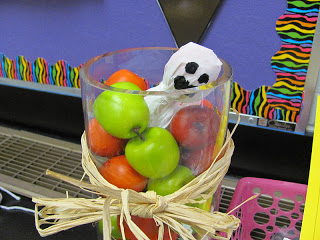
 The spooky ghost was hiding UPON a large vase of apples OR I found my ghost BENEATH a stack of red and green apples.
  This is also a great lesson on word choice and adding DETAILS to your writing.
 Finally, extend the lesson for homework! Your students can be Ghost Busters at home, too!
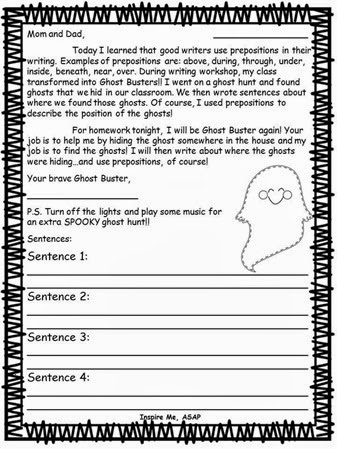 The parents hide the ghosts somewhere in the house and the children go and find the ghosts. Students then write about where the ghosts were hiding….UNDER my bed, ABOVE the TV…you get the idea!
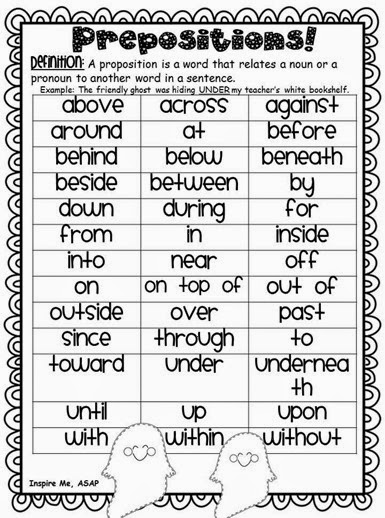
Click on the image below to download this freebie:
Second, if you are looking for a way to teach expository writing (who isn’t with common core writing standards!?!), I hope you try one of my favorite fall writing lessons. I originally blogged about this post HERE. I am reposting in the hopes that some of you teachers out there will be able to benefit from this idea!
**************************************************************************************
(Originally posted here, on Tuesday, November 8, 2011) I begin the lesson by printing up and showing my students these step-by-step directions for how to make a paper pumpkin. 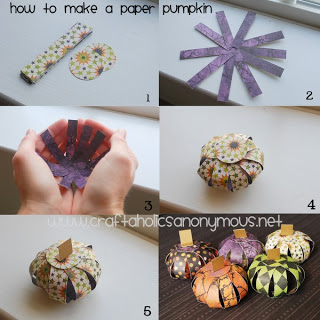 I printed these up from Linda’s awesome blog!! Check out her blog below!
  I asked the students what they noticed about these directions. They observed that there were no written words to direct the person on how to make the craft. I explained that the students were to write step by step detailed directions for how to make the pumpkins!
The students gathered the materials (scrapbook paper, scissors, and glue) and assembled their paper pumpkin, using the numbered directions from Linda’s blog for guidance. 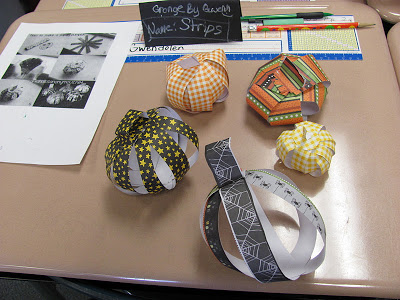 Here are a few examples of the finished project! The students made notes about each of the steps that they took throughout the process, as part of their prewriting.
 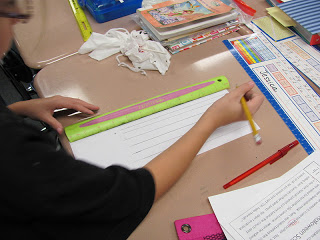 And, taken directly from my students writing, I will type their step by step directions… “First, you cut the strips of scrap paper into 6 and a half inches and you cut out 10 strips, or rectangles.”
 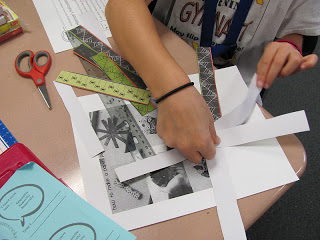 “Then, you glue the bottom pieces altogether, but you have to spread them out in a circle.”
 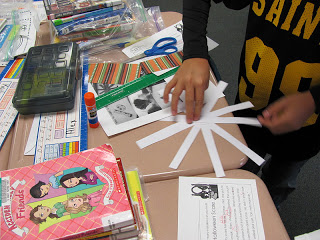 Another student wrote, “Second, spread your rectangles out on your desk like a snowflake. Make sure they are not touching each other. Then, you glue together the tops of the strips. Hold them down so it sticks.”
 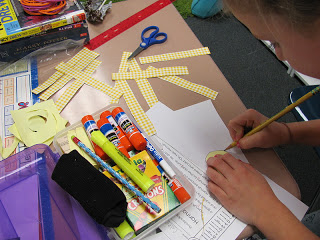 “Third, use a quarter to trace a circle from the scrapbook paper. This circle will be how you will glue and hold the paper pieces together.”
 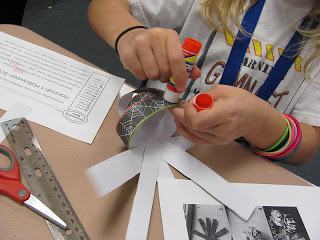 “Next, pull the strips up one at a time at the top. Don’t forget to glue them together. Just a dab will do!” (I kid you not, a student wrote that! Can you tell I use that phrase a lot???!!!!) “After you are done gluing, you make a stem that is about 5 and a half inches. Finally, you are done with your pumpkin. You can also make a nametag for it! Whala! You have a paper pumpkin!” First draft and final draft:
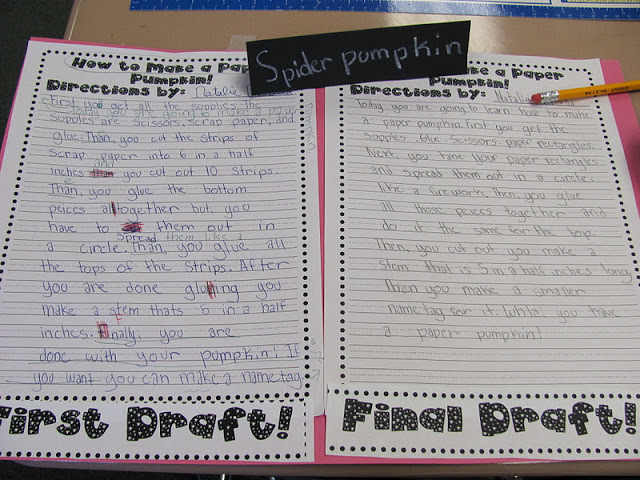
When publishing my students writing samples, I like to occasionally post their FIRST DRAFT next to their FINAL DRAFT. This way, all their editing, revising, and hard work is acknowledged as part of the writing process! 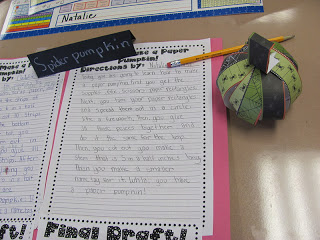 In my class, students use different colored pens to demonstrate each stage of the writing process. Prewriting and drafting is written with a blue pen, editing is completed with a red pen, and revising is completed with a green pen. Final drafts are written in pencil.
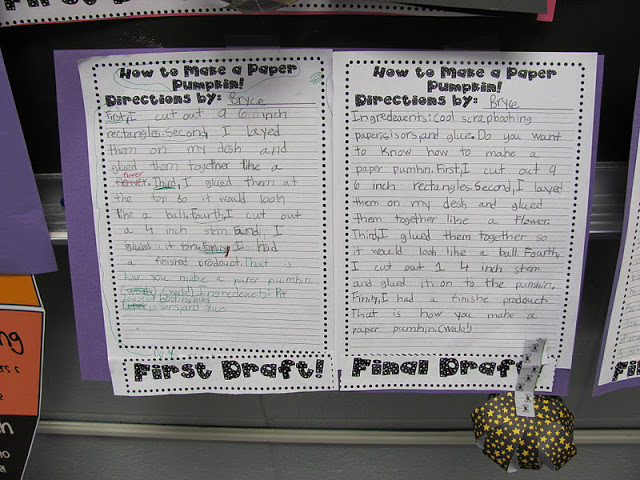
We then concluded the lesson by going back to Linda’s example with the pictures. I told the students that the author DID write written directions after all! (So sneaky, I know!!) I read the directions that Linda had on her blog to show them how similar her directions were with their directions! Nicole, my friend from over at Teaching With Style, also posted some **ADORABLE** freebies on her blog…go check them out NOW! Candy/Treat Bag Toppers:  And, some adorable awards for any contests you might have coming up in next few days!
  Do you have any last minute Halloween tricks or treats? I would love to hear them!






3 Responses
Love the ghost activity! And I'm totally singing the Ghostsbusters song!
I love that ghost activity! fun!!
Omg! I love the Ghostbusters prepositional activities packet! So clever!