Did you know that March is National Nutrition Month?
Regardless of the grade that you teach, it is important to teach your kiddos about making good choices about diet in exercise. Below is an example of how my district breaks down the health curriculum by grade level.
First Grade: Understand good health habits
Second Grade: Make positive healthy choices
Third Grade: Describe best practices in diet and exercise
Fourth Grade: Exercise decision-making skills; understand the benefits of diet and exercise; understand positive and negative effects on the body system
In my blog post today, I share 5 ways that you can celebrate National Nutrition Month in March!
One way that you can celebrate National Nutrition month is to teach your kiddos about making healthy lunch choices.
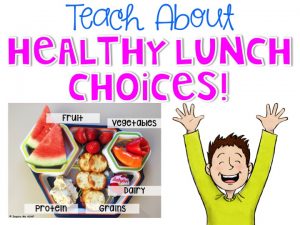
How many times do you eat lunch with your students and cringe when you see what is on their lunch tray? I will never forget eating lunch with a group of my students and watching one of them dump a bag of Cheetos and Doritos, mix them together, and call it “lunch!” His apple and PB & Jelly sandwich were sadly thrown away.
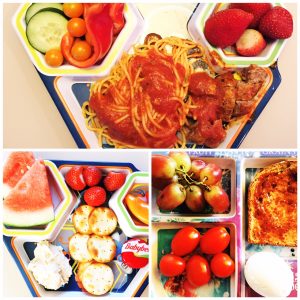
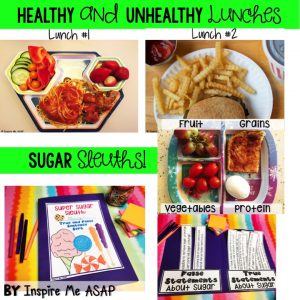
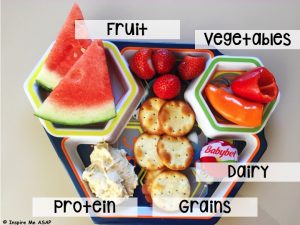
I teach about healthy lunches by showing my students examples of what a healthy lunch looks like. I use my lunch as an example! I literally take out my food and explain the different food groups I have. I also show pictures of my niece and nephew’s lunches—which is the photo above and below.
Or, do you allow kids to bring snacks to school? If so, you probably noticed that most kids do not know what “healthy” snacks really are. I remember telling my students that HEALTHY snacks allowed…but I realized that they did not know what that meant. Students were bringing chips, flavored yogurt, candy bars, flavored crackers, sugar coated cereal…the list goes on. I had to teach my students that apples, bananas, carrots, and almonds were healthy snacks!
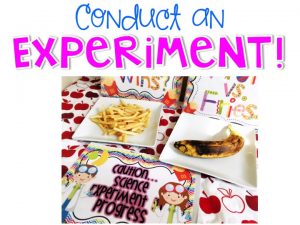
What happens when you leave fast food french fries and a banana out for a week? The banana rots and the fries don’t. This is an excellent experiment to show your students about how fresh, whole foods like vegetables and fruits rot, which is a good thing! Packaged foods or foods loaded with additives and preservatives with artificial coloring and flavors have a long shelf life, but lack important vitamins and nutrients.
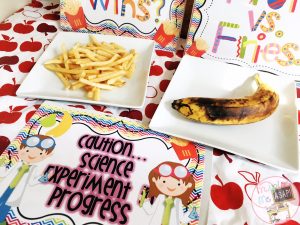 Click on the link if you would like to read more about this experiment: Fruit vs. Fries Science Experiment.
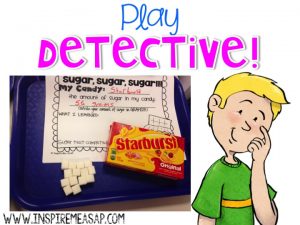
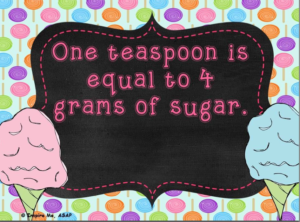
What kid doesn’t love playing detective!?! Have your students bring in their absolute favorite snack and look for the amount of sugar per serving. Your little sugar sleuths can measure out the amount of sugar their favorite snack contains. My students brought in yogurt, almonds, “fruit” roll-ups, Skittles, Snickers, cookies….sugar galore! We had all the necessities for our sugar experiment.


The almonds had the least amount of sugar: 1 gram!

Activity 1: Fitness and food log-The students will keep track of all the food they eat and exercise they do for a week. They will then reflect and analyze their food and exercise intake for the week.
Activity 2: Healthy and unhealthy lunches part 1- This lesson will help your students open their eyes to the food that they put on their lunch tray if they have a school lunch or a lunch from home.
Activity 3: Healthy and unhealthy lunches part 2- Students will use photographs of real food to compare two different lunches and write about the similarities and differences with a Venn diagram.
Activity 4: Healthy breakfasts- Now that your students are hopefully making better choices for their lunches, they are ready to conquer their breakfast food! Working in cooperative groups, ask your students to dissect the breakfast displayed on Smart board/printed as a hard copy.
Activity 5: Mission Nutrition- Students will be challenged to participate in a mission nutrition challenge for 10 days.
Activity 6: Food pyramid lessons- Students learn about the different food groups with this interactive lesson. Students compare the old food pyramid to the current food pyramid, and identify the main differences between the two.
Activity 7: Analyzing nutrition labels– Student learn how to analyze the nutrition labels on their favorite foods. Lesson includes an example of a nutrition label and resources for your students to analyze their own nutrition label.
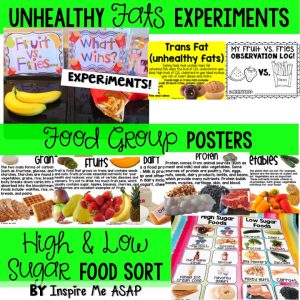
Activity 8: Fruit vs. fries experiment- This is an experiment that you will have to see to believe! Students observe what happens when they leave out fruit and fries for a few days. Lesson include an observation journal for each day, detailed directions, pictures of the experiment, and colorful posters to print for the experiment.
Activity 9: Unhealthy fats experiment- Another experiment your students will love! Each student brings a sample of their favorite snack food (crackers, chips, cookies, doughnut) to leave out for a couple of days on a paper bag. Students will use their journal to record the grease stain from their snack food, along with any other important information. Experiment includes an observation journal, detailed directions, colorful posters for you to print for the experiment.
Activity 10: Food group posters- This resource includes a poster for each food group (grains, fruits, veggies, dairy, protein) to print and display. There are two options for you. One set of posters have beautiful photographs of real food. The other set of food group posters includes clip art of food.
Activity 11: My nutrition flip book- As you teach about the different food groups, students can follow along by writing what they learn in their own personal nutrition flip book. There is one page for each food group.
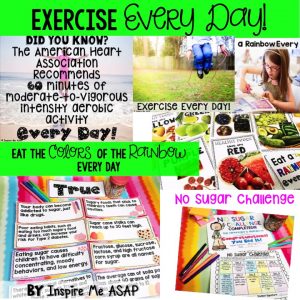
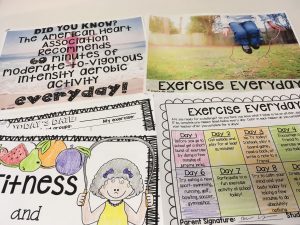
Activity 12: Exercise every day- Remember when students took the nutrition mission challenge? Now, they will take an exercise every day challenge! Students learn that recommended amount of daily exercise is 60 minutes per day.
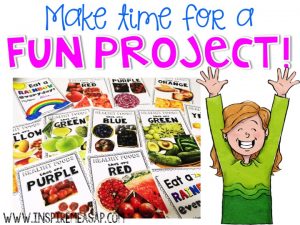
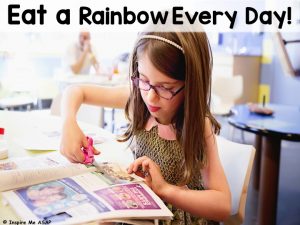
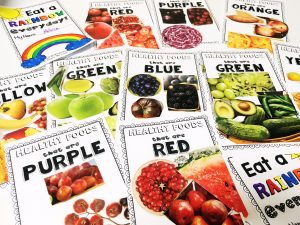
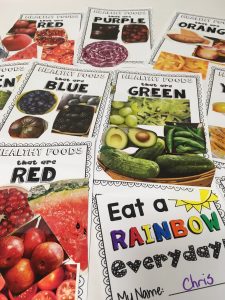
Activity 13: Eat the colors of the rainbow- Students learn what “eating a rainbow every day” means. In this lesson, students work together to cut out pictures of foods that represent different colors of the rainbow. Lesson includes a note to go home, a student flip book, and a bookmark printable.
Activity 14: Harmful Effects of Sugar Article- Students read the article independently, as a whole group, or with partners and fill out the “3,2,1” graphic organizer to reflect on what they learned. Display the colorful “sugar shock” poster and “warning” and an introduction to reading the article. Resources include a color photograph to display, a one page article about sugar, and two graphic organizers to choose from.
Activity 15: True and False Interactive Sort- There are 16 cards that have a sentence about sugar. One at a time, a student reads the card and the class determines if the statement is a true or false by holding up their sign. Students have a discussion about the statement and place in under the correct category. After this part of the lesson is complete, students will independently read, cut, and sort the sentences into “true” and “false” statements. Resources include directions, 16 statements about sugar, one blank template to write your own, an answer key, and a “sugar shock” color poster to print if you choose to display for a bulletin board.
Activity 16: Sugar Sleuths- As a follow up to the whole group true and false interactive sort, students turn into sugar sleuths and independently (or with a partner) read, cut out, and sort all sentences into their own book.
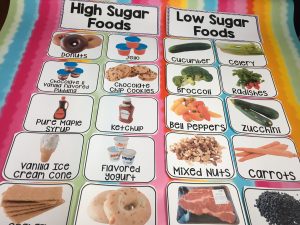
Activity 17: High Sugar/Low Sugar Food Sort– There are 36 photographs of real food that students must identify as “high sugar” or “low sugar.” Students sort the foods into the correct category. This can be done as a whole group or as a center. Resources include a color informational poster about high sugar foods, 36 real photographs in color of common foods, and “high sugar/low sugar” cards to print.
Activity 18: Sugar Shock Experiment- Your students may just go into shock after this experiment! Students use real sugar to measure out the amount of sugar in their favorite snack. Students compare the amount of sugar in their food to the other snacks students tested.
Activity 19: Letter Writing Reflection– Students will reflect on what they learned throughout this unit by writing a letter about sugar. However, this will be done with a creative twist! Students will write about the topic from the first person point of view, which means that they are writing from the perspective of sugar! Included for this activity is directions for the students, 2 letter templates, an example of a finished letter, and a colorful poster “Dear Humans, Love Sugar” poster to display as a bulletin board.
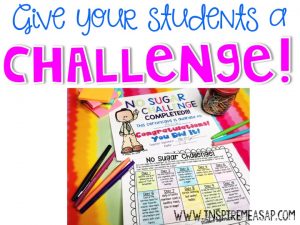
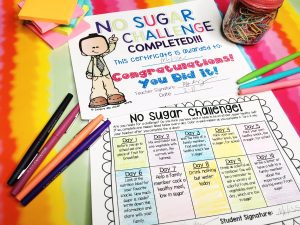
Activity 20: No Sugar Challenge- What better way to end the unit than with a fun challenge? Students can choose to participate in a “no sugar” or “low sugar” challenge for 10 days.. Resources include a note home listing a challenge for each day, a poster to display with facts from the American Heart Association about added sugars, and a participation award in color and also black and white.
If you would like to purchase the nutrition unit on Teachers Pay Teachers, click here: Nutrition Unit.
Save 10% by purchasing this file directly from my website. Click on the purchase button below:

